Next Show: April 20th & 21st, 2018


Home i Event Info i Tickets i Classes i Vendors i FAQ's

Tuesday, October 29, 2013

Time To Get Spooky!

HAPPY HALLOWEEN!!!
Halloween is one of my favorite holidays for sure and I have to say, I've really enjoyed scrapping it this year too. This Spooky Time stack from DCWV is AWESOME! So many fun, spooky papers just begging to be distressed and adorned with fun pictures.
 
 
We had a ton of fun playing with the shutter speed settings on my camera last year and we came up with these fun "ghost" pictures. The kids had a blast and even my hubby got into it. This was the pumpkin he carved and if you look closely on the left side of the photo you can see his eery apparition. In the back my daughter is the phantom rising behind the pumpkin. So fun!
 
 
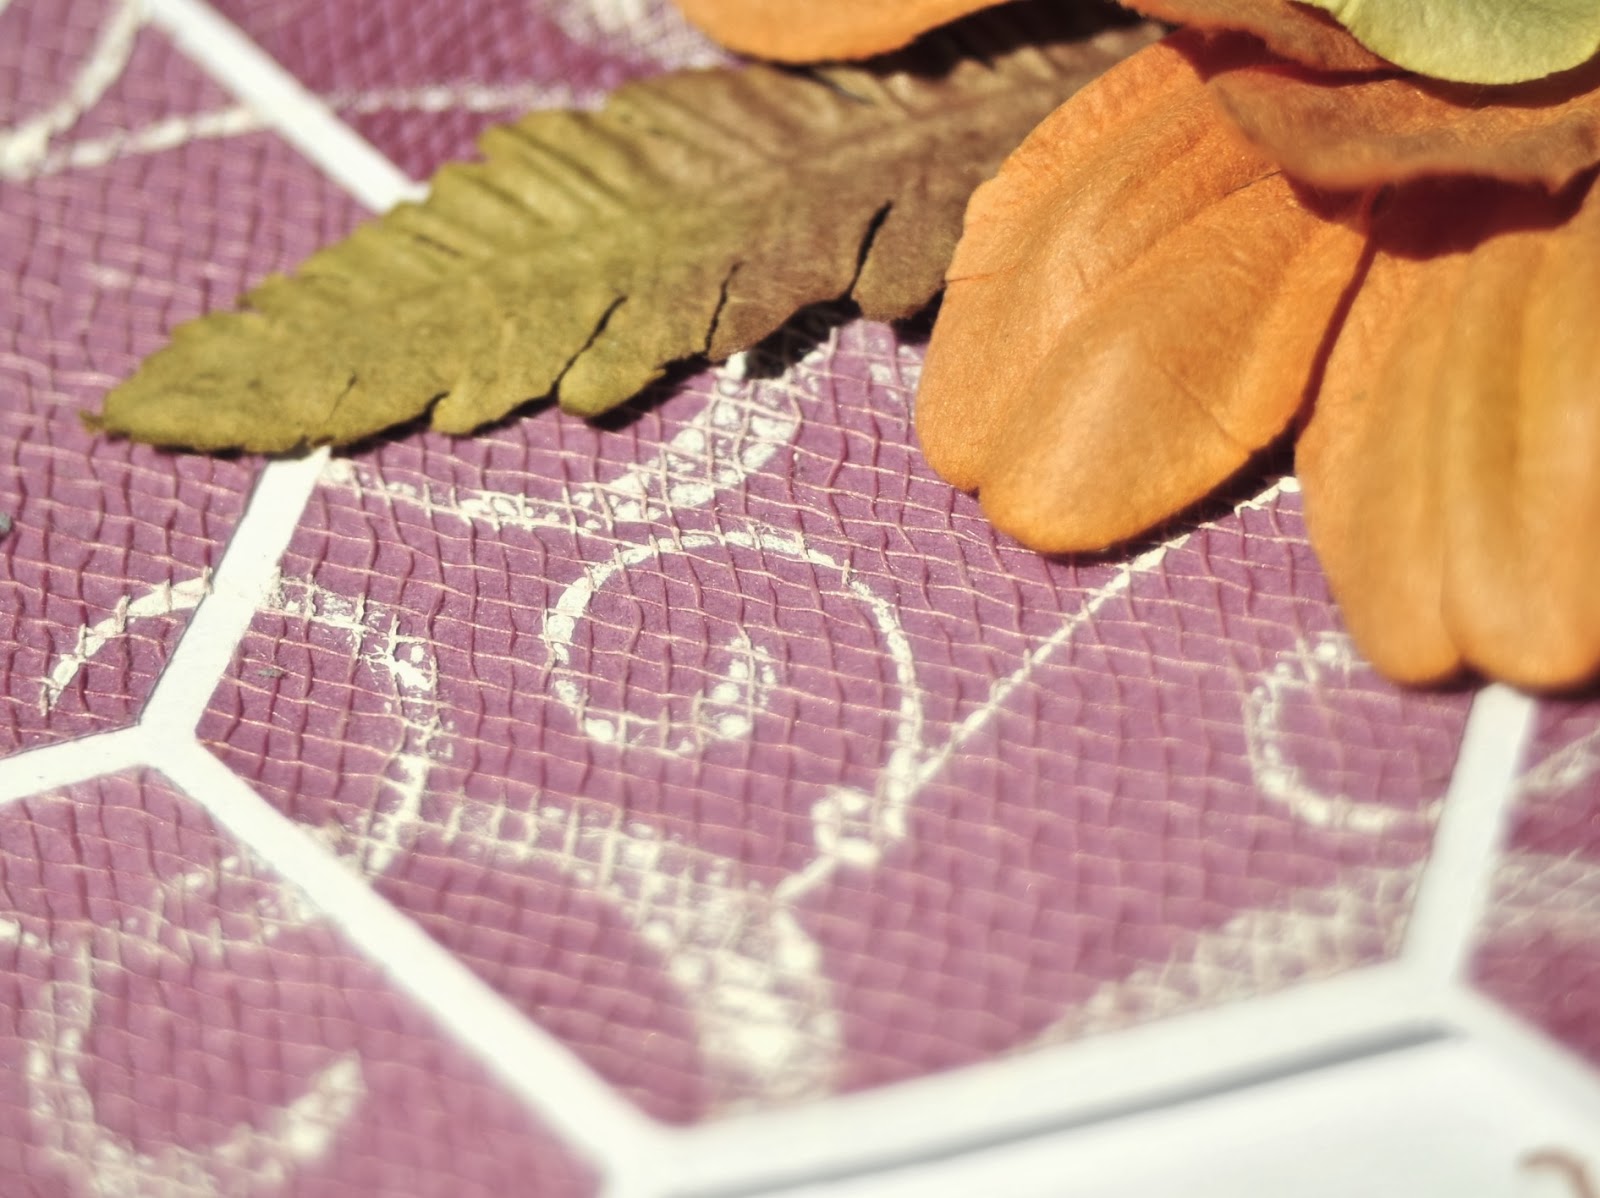
 These papers are so fantastic and spooky all on their own. You really could just pick a background, lay some photos down and be done. This skulls pattern was one of my favorites, so I added black and red spray for a more spooky effect, layered the diamond skulls across the top and then layered again with the awesome spiders and webs. Seriously cool!

 
You can see a bit of the distressing I added to the photo here. All you have to do is grab your emery board and go around the edges of your photo, going in farther for the scratches look.


I tucked my tag under the spiders and webs in the corner so it didn't distract from the photo and fun details of the layout. But I inked the edges and the string red first. Then I added this fun skull I had and tried to center an eye over the spiders on the pp. The spiders look real enough that I kept jumping a little when I'd notice them on my table. lol 
 
  Have fun creating your own spooky layouts!
:)Ange

DCWV - pattern papers Spooky Time stack
ranger - red dylusions
studio calico - passport spray
sei - red ink
colorbox - black ink
wrmk - Boo cb
uni-ball - red pen
tombow - tape runner
elmers - glue dots
stash - skull w/crossbones, tag, emery board

Monday, October 28, 2013

Fun Halloween Layout + Sketch

 I love Halloween. I love the magical feel and the suspense-fulness of energy charged moments. What a fun holiday! So of course I have fun photos to scrap and NO shortage of fun papers and products to scrap them with. Today's layout is based on sketch #288 from Nuts About sketches and I used DCWV's Spooky Time stack:


This sketch is great for a layout that has a lot of journaling to go with it. Since I didn't have quite so much journaling to go with the pictures I had, I decided to add layers of patterned paper and the Spooky Time stack had so many fun patterns to pick from!


Here you can see the layers. I distressed them with scissors, regular hand squishing and then inked them after flattening them out. After I got all my pp layers attached where I wanted them I added splashes of black & red spray and then spritzed a little white shimmer too.


When that is dry you can move onto your photos and embellishments. I cut my title out of one of the pp's in the stack, the same paper I cut the Scary banner from. It also had other fun designs that would be great for embellishment or journaling spots.


I added a fun mix of embellishments. Next I did my journaling. I was a little worried about how my pen would write over my ink drips, but it did just fine.

 The very last thing I did was add some red eye glam rocks to a few of the skulls. Perfect!
Thanks, Ange.

Thursday, October 24, 2013

A Rhinestone Border

Dear Jane,
I love you.

The Dear Jane stack from DCWV is BEAUTIFUL! The soft colors with the gold foil is lovely, and it was perfect for this sweet picture of my niece... 


While I was at the ScrapbookUSA Expo last spring, someone was looking at Imaginisce's  i-rock and they asked me why anyone would want to spend money on "yet another tool" along with special rhinestones when we can just use glue. 

Obviously this wasn't one of those crafters that just "have" to have all the latest and greatest.... 

Well, heat set rhinestones really do have their place. First... They can be used on fabric. Awesome!

Next, making your own designs is a breeze!
 L.O.V.E!

For my LO, I used my Silhouette to make a rhinestone templet out of paper, then filled it with hot fix rhinestones. I know it sounds tedious, but it isn't. They slip into place fairly easily.

Use the i-rock to gently press down on each jewel for a few seconds. This allows the glue to melt. Simple.

Once you have done that, carefully lift up your template. If any of the rhinestones haven't set, or are stuck to the temple, simply lay the template back down and heat it again. 


Imagine glueing each of those babies by hand... 

(ok, so I have done projects where I have glued rhinestones by hand... trust me--- this is faster and easier!)

Enjoy!
~Kassi

Supplies Used:
Paper: DCWV Dear Jane Stack & Card Stock
Ink: Distress Ink, StazOn
Stamps: Basic Grey "Swirlie", Fancy Pants "Pollen Dust", Teresa Collins "Linen"
Flowers: Prima
Silhouette: Ogee Shapes, Echo Park Doily, Artisan Label
Other: Imaginisce Hot Rocks, Perfect Pearls, Resinesense, rhinestones, acrylic paint, gesso, buttons

Tuesday, October 22, 2013

Clear Gesso and Stencils


Hello my fabulous friends!

I'm here to share a card I made using DCWV Pumpkin Patch stack.
This stack is a really fun fall stack! I love the rich colors and the great designs!

Sometimes, even when I like a particular patterned paper, I want to step it up a notch.. Here's one fun way to do just that...

Tape a stencil down over your patterned paper. 

Sponge on some clear gesso. I like using my ink blending tool and a foam blending pad to do this, then I just wash out the pad with soap and water and let it dry, then I can reuse the pad. However, you can use a makeup wedge instead if you want.

Once it's dry, apply ink over the paper. 

Use a damp rag to wipe off the ink from the gesso. The gesso acts as a resist and will protect the pattern of the paper in the areas it covers. 

This is a fun way to alter your patterned paper for a little added interest!  

REMEMBER, you still have a few more days to get your cards in! The last drawing will be held this Friday October 25th! All the details are HERE!

Enjoy!

Supplies Used:
Paper: DCWV Pumpkin Patch, Bazzill
Ink: Distress Ink
Dies: Spellbinders "Hearts One"
Silhouette: Circle Overlap Lace 
Other: Clear Gesso

Friday, October 18, 2013

Miss You Flowers

Hello my wonderful friends!

Don't forget to work on some cards of your own this weekend! All the details on the Scrapbook USA Card Drive for Operation Write Home can be found HERE

The soft colors of DCWV "the Modern Meadow Stack" remind me of the transition of summer to fall... you have the yellows, browns, oranges, and blue. It is a beautiful combination to create with!
For this card I simply chose two of the patterns and layered them with with a mat of solid card stock underneath each help them pop.

On some white card stock, I stamp the flowers, then colored them in with Iced Spruce Distress Marker. For a little extra shimmer on the flowers, and to compliment the glitter of the zigzag paper, I added some clear "Fairy Dust" Creative Inspiration Paint. Once dry, the shimmer won't rub off, so no worries there!


Enjoy!


Supplies Used:
Paper: DCWV-Modern Meadow, Core'Dinations, Bazzill, card stock
Ink: Memento, Distress Marker
Stamps: Unity "Wishing You Joy" & "Blossom Stackers"
Dies: Quickutz "Nesting Circles", Spellbinders "Blossom Tags and Accents"
Creative Inspirations Paint: Fairy Dust
Other: pearls

Wednesday, October 16, 2013

Fall Memories


 Hello my wonderful friends!

When I was growing up, my grandparents had the BEST apple tree. It had the perfect branches for climbing and sitting in (even if you were really small). And it had been grafted with several different kinds of apple all into one tree. Each year int the autumn we would go over to their house and pick boxes and boxes of apples off this huge tree. 

Once the apples were picked, the tree had one more gift for us... the leaves. We would rake those leaves into giant piles and jump in them! Chores were never so much fun!

DCWV "Spiced Cider" paper pack is full of beautiful fall papers... including apples. 


(I know, my card doesn't show apples, but the apple are are more sized for a scrapbook page... I need to go find a picture of me and my sister in the leaves of the apple tree. I know I have a cute one somewhere... )

However, I do love these papers! The flowers were stamped with acrylic paint... I thought the texture you get from stamping with paint look good with the wood patterned paper I chose as the accent.

Bring on Autumn!

Enjoy!


Supplies Used
Paper: DCWV-Spiced Cider, Core'dinations
Stamps: Inkadinkado "Meadow", Kaisercraft "Devonshire"
Dies: Quickutz "Nesting Ovals"
Other: Distress Paint, acrylic paint, bras

Tuesday, October 15, 2013

Homeroom DCWV Stack!

Wondering where to send your cards? Find all the details HERE for our October Card Drive!

Have you seen the totally cute Homeroom stack from DCWV? Oh my gosh, love it!! I am totally excited to use it for a couple of layouts I'm planning, but for now I've got this fun and easy card for you:


I loved this paper airplane sheet and thought it would be perfect for a card. I just cut the sheet down to the size I needed and folded it in half, added a little word bubble with mini alphas for my sentiment and then fussy cut the word bubble w/ HI out of a full sheet of fun word bubbles that was in the stack. I punched the side of the card to give it a notebook paper look, inked my edges and then added a little marker doodling to finish it off. 
 Super fun and cute! 
:)Ange

Supplies:
DCWV - pp
colorbox - ink
stampin up - marker
ek success - punch
making memories - tiny alphas white
mls - tiny alphas red/green

"Love U" Card

Hello and good morning..

It's Wendi here, sharing a recent card that I made with you with some DCWV. As many of you know, Oct 5 was World Card Making Day and to go along with that The Original Scrapbook USA Expo is having a donation drive for Operation Write Home. Help us reach our goal of 500 cards! All the details are in this post, 500 Cards.

I created a card with the LOVE theme that could be used towards anyone- a loved one, a friend, or just because I want to say I love it.

I used the DCWV Modern Meadow papers and mixed them all together. One of the sheets actually already had sentiments printed on it, so it was perfect and that's where I pulled the "You are My Heart" tab.
I also fussy cut the tabs from the top and the shaped center piece.

The center yellow piece of paper is actually from the DCWV Natural Fibers papers and has the coolest texture.
I topped it off with some washi tape and a sentiment with some mini alphas from my stash. Quick and easy.

Hope you have a great day and thanks for stopping by.

Monday, October 14, 2013

How About Some Texture??

A little texture
Hello my fabulous friends!

I'm here to share a very dangerous line of paper from DCWV...

the Gauze Paper.

It is AMAZING!!! 

It is like no other paper I have ever worked with. It has actual gauze adhered to the paper for a textured paper that is SO much fun!

I call it dangerous only because it is so fantastic, you are going to want to get a ton of it!

Here is a quick card I put together. The paper die cuts fabulously... although you may need to snip a few stray fibers..

I stamped over the gauze using acrylic paint, and a fair amount of pressure. I love the texture!

This is one of those paper lines that I am super excited about, and hope to see more colors of!

Enjoy!

Supplies Used:
Paper: DCWV Gauze Paper, card stock
Ink: Archival
Stamps: Unity "Love in Return", Fancy Pants "In My Words"
Dies: Sizzix 2" Hexagons
Other: Prima flowers, brad, acrylic paint

Thursday, October 10, 2013

The Sky's The Limit

There is still plenty of time to put some cards for our Operation Write Home Card Drive!
Remember our goal is 500 cards this month!! Every card that is submitted will enter you into a drawing for great prizes including more card making supplies, Scrapbook USA show tickets and more!!

The Sky's the Limit! Especially with this fun stack from DCWV! I created this card using 4 papers from the stack:


I pieced together the layers over white cs (after inking the edges of course), added a strip of washi tape and then fussy cut these fun elements out of another pp from the stack. I inked their edges and added them to the front of the card. Inside I added y-heart-u! with alphas and a fussy cut heart in a slightly larger size than you see here.
 
  I think it turned out pretty cute.
:) Ange

Supplies:
sei - ink
american crafts - thickers
stash - washi tape, white cs

Tuesday, October 8, 2013

Cards with DCWV Pebbled Stack

Hello! Ange here, with a super simple and totally awesome card using the Pebbled 6x6 stack from DCWV. As many of you know, Oct 5 was World Card Making Day and to go along with that The Original Scrapbook USA Expo is having a donation drive for Operation Write Home. Help us reach our goal of 500 cards! All the details are in this post, 500 Cards
 There were plenty of challenges available over the weekend, to get everyone making some cards. So I found a nice sketch fromPagemaps and created this card using it:


I loved the layers and the simplicity of the sketch because I knew I wanted to use more than one sheet from the Pebbled stack but I wanted the card to feel masculine at the same time. I started with just white cs as my base, then added the sheet of grey after using my emery board on it to really help the awesome pebbled pattern show. Then I grabbed a pp from the Sky's the Limit stack for a bit of color and pattern behind the dark yellow paper from the Pebbled stack. I added a couple strips of washi for a banner and some rub-ons for my sentiment.
Easy, quick and elegant.
Thanks for stopping by!

Supplies:
DCWV - Pebbled and Sky's the Limit stacks
pagemaps - sketch
bazzil basics - washi
colorbox - black ink
creating keepsakes - rub-ons
stash - white cs, emery board