Next Show: April 20th & 21st, 2018


Home i Event Info i Tickets i Classes i Vendors i FAQ's

Showing posts with label Cards. Show all posts

Friday, January 12, 2018

#LetsCreateToday

Here at Let's Create Expo, we get you!
 
We get that you have an undeniable need to create, because we have that same undeniable need.
 
We get that when you have a creation in process, the house will not be cleaned, the laundry will not be washed, and the children may or may not be fed, because we do that too.
 
We get the huge rush that comes when you look at your finished project. We understand the blood, sweat, and tears that went into it. We know!
 
And so, because we get you, we want to celebrate with you. We want to share in that rush of pure joy that comes when you see your finished project.
 
Join the Creative Community on Facebook and Instagram by using #LetsCreateToday.
We will randomly feature your work on our social media. 
Let us Celebrate YOUR creative accomplishments Today!
 

Wednesday, February 15, 2017

Let's Create Expo 2017 Class Schedule at a Glance!

Our 2017 Let's Create Expo class line-up this year is packed
full of Creative Inspiration!
Click Here for a Schedule at a Glance to plan your Weekend of Fun.
Then head over to our Classes Page and start shopping!

Thursday, February 20, 2014

Mon Ami By Basic Grey

Hello my fabulous friends!

Are you all getting excited for the Scrapbook USA Expo???  
I know I am! =)

So many fabulous vendors (including Spellbinders!!! YAY!!!) 

One of the vendors I always look forward to is Basic Grey. I love their stuff & their deals!

This was made using Basic Grey's "Mon Ami" line.
Fabulous colors & patterns in this line!

The numbers on the side were stamped with a clear embossing ink, then covered with Magical Powder from Lindy's Stamp Gang... The mica shimmers so beautifully and gives it that touch of metallic shine without being overly distracting. 

Working with scraps, I was able to quickly make a second card using the same line of papers...
The yellow paper on this card is actually a scrap from the first card... (it is the reverse side of the grey... I love double sided papers!!!)


Enjoy!


Supplies Used (1):
Paper: Basic Grey "Mon Ami", watercolor paper
Ink: VersaMark, Archival Ink
Stamps: Unity "Number etc.", "Sing Your Song", "Create Today", & "Heartfelt Sentiments"
Other: Lindy Stamp Gang Magicals "Cattail Copper Brown"

Supplies Used (2):
Paper: Basic Grey "Mon Ami", card stock
Ink: Archival, Distress Ink
Stamps: Unity "Every Breath"
Dies: Spellbinders "Blossom Tags & Accents", Quickutz "Nesting Circles"
Other: Rhinestones, Perfect Pearls


Thursday, January 9, 2014

Valentine's Cards


Valentine's Day is just around the corner and I am really excited to share these really cute cards perfect for getting us in the mood for some "L.O.V.E."!


 Each of these cards was created by our good friend Cathi Rigby who blogs over at Cathi's Craft Room. You may also have met Cathi at Scrapbook USA in years past. She has a table near the entrance to the show and promotes her scrappin cruises and retreats.


 If you have ever visited Cathi's blog you will quickly see that she is an expert at using Provo Craft's Cricut and Silhouette's Cameo. She has even written a book on the Cricut Expression. If you would like to learn from one of the best in the industry check out Cathi's 2 classes at Scrapbook USA. She will be teaching one class on the Silhouette Cameo (Friday 6:30-8) and one on the Cricut Expressions (Saturday 4:30-6:00). I promise you will go away with the knowledge and know-how you need to use these machines to create fun and amazing projects!


Monday, January 6, 2014

Thank You Cards - Perfect for an Operation Write Home Donation

Hello and good morning...

It's Wendi here and I'm sharing some thank you cards with you. With Scrapbook USA being just a few months away, it's the perfect time to start working on a few homemade cards for Operation Write Home.

Here's a batch of quick and easy cards that I came up with.
My first #thank U card wa made using the "Homeroom" DCWV collection, normally it's a school line, but I pulled some of the less themey papers from the line for this card. I also used the "Natural Fibers" paper for the pinwheel.


My second "Thank You" card used the DCWV " Modern Meadow" collection.  For the blue layers, I fuxxy cut a few of the scallop layers on one of the paper sheets and then staggered the scallops.


And my third "Thanks" card, I used DCWV "Sweet Tangerine" collection. I fussy cut the flower and butterfly from the papers and used pop dots to add them as embellies to the card.

On each of my cards I also used my sewing machine, just to personalize the card a bit more. It's amazing how sewing on a card will really grab someone's attention.

So grab your supplies and create a special note to someone and express your thanks.

Thanks for stopping by and have a great day.

Other supplies: October Afternoon mini alphas, Kaisercraft bling, Basic Grey brad, machine sewing.

Monday, December 16, 2013

Homemade Holiday Cards - You still have Time!

 Hello! I have some more fun Holiday cards for you today. I used DCWV Holiday Glitzy Glitter and Jolly Whimsy stacks for these cute cards:


The temperature was about 10 degrees outside when I took these photos and it made the glitter paper curl up. I was a little worried things were going to pop off or they weren't going to straighten back out, but almost the second I got them back in the house they flattened back up. 


 For this card I used this gorgeous red and silver striped background and then cut out the sentiment from the Jolly Whimsy stack. I hand drew and cut a pattern for the stockings so I could cut them out of the fun prints in the stack & hung them from twine. And the 24 I cut from a paper in the stack also.


I really like the look of the rolled pp, so I made a tree from some of the adorable patterns in the line and then added the noel wreath from the icons paper. The trunk is made from the barcode edge of the glittered pp, love it when those are useful! And a glittery star button from my stash.


This glitter pattern was so pretty I actually wanted to just use it as the whole card. lol But I added the cute little snowman from the icons pp, backed with the fun gold snowflake pp & then added the snowflakes and a bit of liquid pearls for fun.

Thanks for stopping by today! I'm off to mail these.
:)Ange

Saturday, December 14, 2013

Cards

 I have some cute, simple Christmas cards for you today!


I've been having a lot of fun making Christmas cards this year and using the Basic Grey's 25th and Pine line has made it so easy.


 For this card and used this pretty pine tree chevron printed paper with edges inked in dark green, I love it!  Then I picked one of the banners. Because they're made for a 12x12 page I had to snip it down to size. I just snipped the string in the middle of the banner next to the ones I wanted, then unpicked the string from that banner so I could use it somewhere else. I added a couple of the cute brads, wooden snowflake and the chipboard letters to finish off my card.


 This card is where I used the banners that no longer had string through them. First I flipped them over and closed up the string holes with my fingernail. One banner is used as a tree here, 2 at the top and then I wanted some quick presents so I actually cut them out of a different banner. I also used another pp for my background, inked in dark green again, then used a punch on a different pattern for the top piece and added one of the super cute stamps and a wooden star. Oh and that cute chevron print for the tree trunk.


This card was probably the easiest. I used the snippets card, inked in black, for the bottom and added the Joy letters. Then layered some washi tape across the top, attached the Holiday wooden word and another cute stamp.

Happy Holidays!
Ange Weisbeck

Tuesday, December 10, 2013

Christmas Cards!!

Hello and good morning...

I have to admit that making Christmas cards is one of my favorite type of cards to make. Maybe because I don't usually  make them all year long, but I really enjoy creating them. Here are a few that I made with the DCWV Jolly Whimsy Mat Stack.

Ho Ho Ho card:

Merry Christmas card: I decorated the tree with bling

Tis the Season: I used a tag and journal spot from the elements paper

Holly Jolly Christmas: with a touch of mist and bling

What a fun Mat Stack... make sure to check out DCWV and see what's new.

Thanks so much for stopping by....


Other Supplies: Mister Huey mist, MME enamel dots, Kaiser Craft bling, machine sewing, twine.

Thursday, December 5, 2013

Christmas Cards & Tags with Echo Park

Hello and good morning...

One thing that I always look forward to is making and sending out Christmas cards. I have handmade all my Christmas cards for at least the last 10 years or so, and I really do enjoy it.

Here are a couple of Christmas cards and a tag using Echo Park's Reflections Christmas collection.

First up is a 6x6 sized card:

I used a couple of the  sticker elements for my sentiment:

For my second card one of the 3x4 cards from the line for my sentiment:

and spiced it up with some bling and trims:

I also made a tag which is a perfect addition to add to any gift to give:

I just used my border punch and added the strips in layers:


There you go a couple of fun ways to add the handmade touch to any gift..... Check out Echo Park and all their wonderful products..

Thanks for stopping by today


Other supplies: Kaiser Craft bling, border punch, misc trims, twine.

Wednesday, November 27, 2013

Nuts About You!

 Hi! Ange here today with a couple of fun cards.
I used Moxxie's Forever Fall line & DCWV's Pebbled stack for these cute cards.


On this first one I picked my base (brown DCWV cs), added some sanded Pebbled cs from DCWV, which I think really spruced up the front of this card! I love all the texture it adds. Then I used some scraps of Foilage along the bottom and fussy cut the cute leaves from Unbe-leaf-able & Fall cards for my leaf pile. I used the My Dear Friend rub-on and this adorable little deer sticker. I love this little deer, I've been waiting for the perfect place to use him.


This card is a birthday card for my daughter. I love this Nuts About You! sticker and thought it would be perfect for this card. The yellow polka dotted paper is the backside of Fall cards, the additional stickers are off of the Alpha sticker sheet and the white cs is from the Pebbled DCWV stack, as is the brown cs base.
I added a couple more stickers with a birthday sentiment inside.

These cards were fun and easy to make using Moxxie's awesome cardstock stickers and this super fun Pebbled stack from DCWV.
:)Ange

Supplies:
DCWV - cs Pebbled stack and brown bases, brad
Moxxie - pp, cs stickers, rub-on, alpha cs stickers Forever Fall
ranger - brown ink
colorbox - black ink
tombow - tape runner
stash - emery board

Monday, November 25, 2013

Thank You, Echo Park

Hello my wonderful friend!

Sometimes you just need a quick card, right? (but it you don't want it to LOOK like you threw it together!)  Well, it doesn't get too much better than this... thank you Echo Park! 

Both the turquoise chevrons and the owl papers are journaling cards from Echo Park's "Oh So Thankful" Photo Freedom kit. I trimmed the owl card down about a half inch more than the chevrons so there would be a border, then I ran a distressing tool over the edges. The "thank you" was spelled out using the letter stickers also found in the kit. A little ink around the edges and a jute bow, and it is ready to go! WHEW! 

Now back to your busy life.

Enjoy!

Products Used:
Paper: Echo Park "Oh So Thankful" photo freedom kit
Ink: Distress
Other: Jute


Friday, November 1, 2013

Outside the Comfort Zone


Hello my fabulous friends!

 When I first looked at the DCWV Dark Romance stack, I was really.... well, unsure what to do with it. 

Some of the designs I completely loved right away.... Like some of the butterflies. Nice neutral tones. A design I was comfortable working with... But one thing I have learned, is that challenging myself is the best way to not only grow, but discover amazing things!

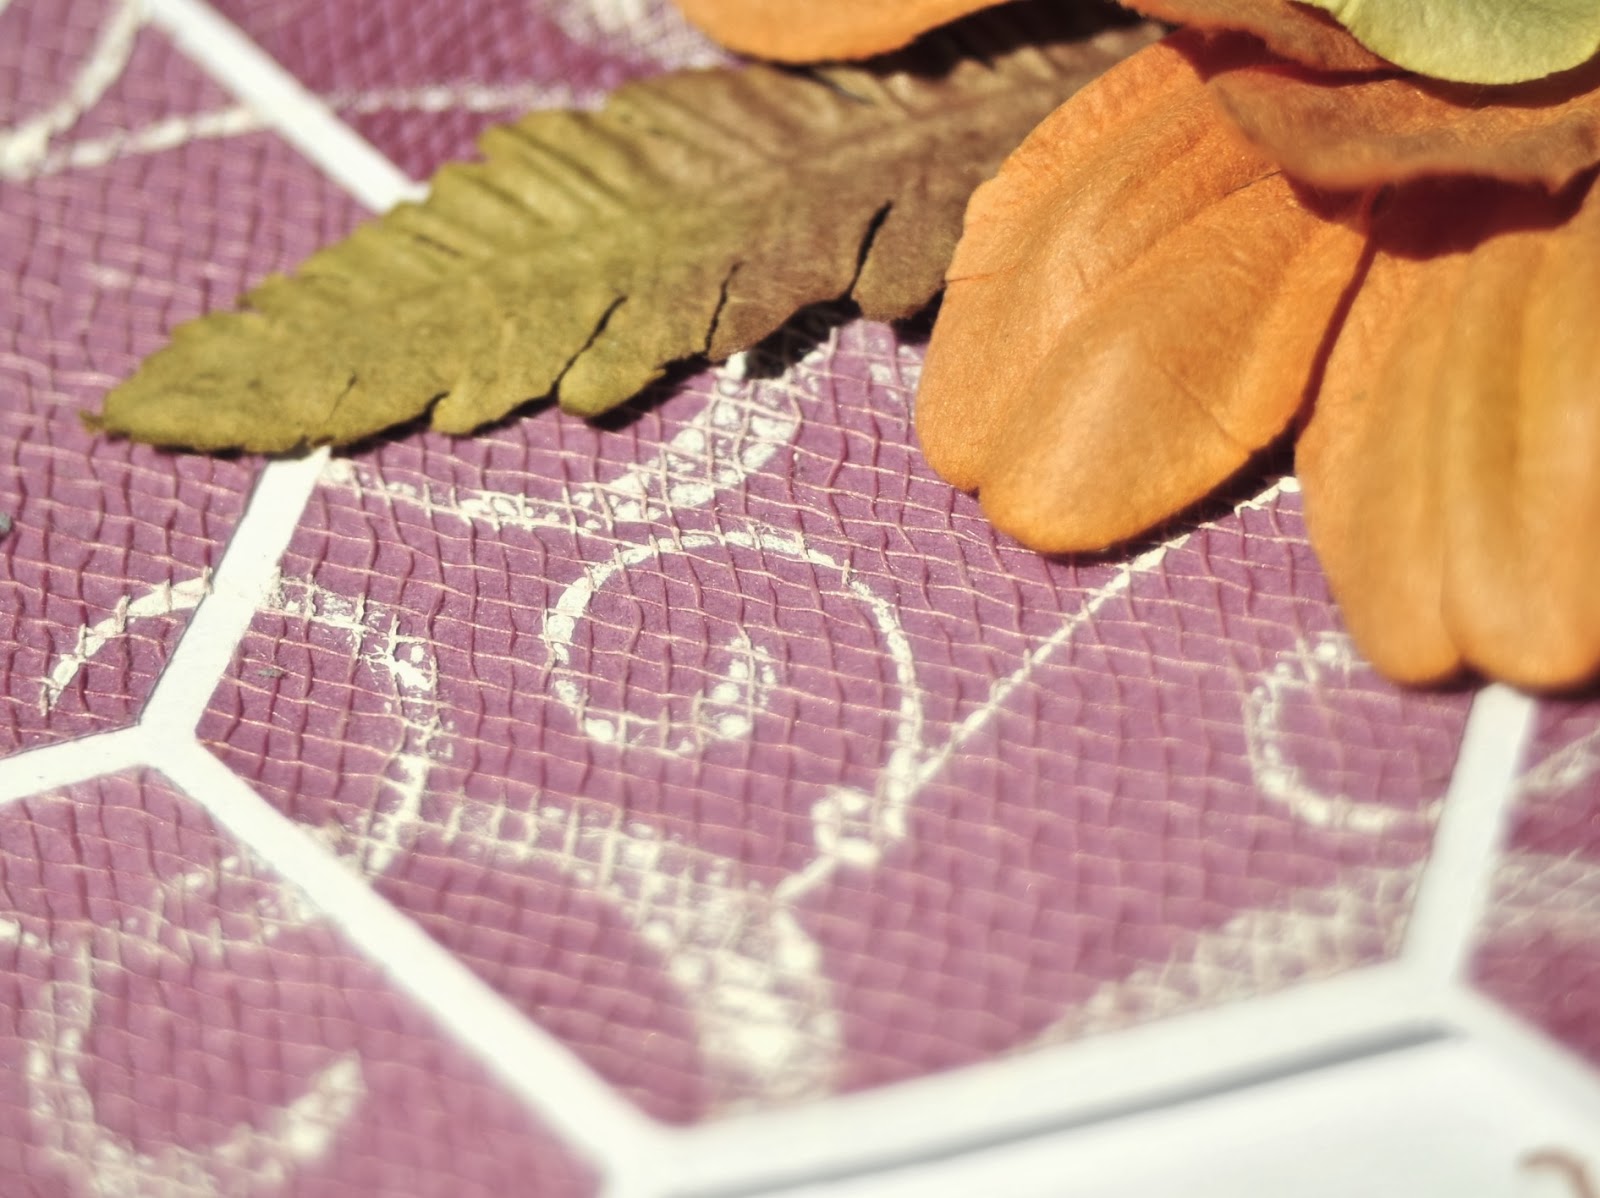
For example... This purple paper on my card...
In a 12x12, it is a very intense purple with large floral tone-on-tone designs that I like, but the color intensity was so overwhelming, and not one I typically use.. However, the more I looked at it, the more I liked it... the more I liked it, the more I knew I wanted to use it! So I ditched the project I was doing that was in my comfort zone (working with the brown butterfly paper) and used the purple paper that I had originally found intimidating. 

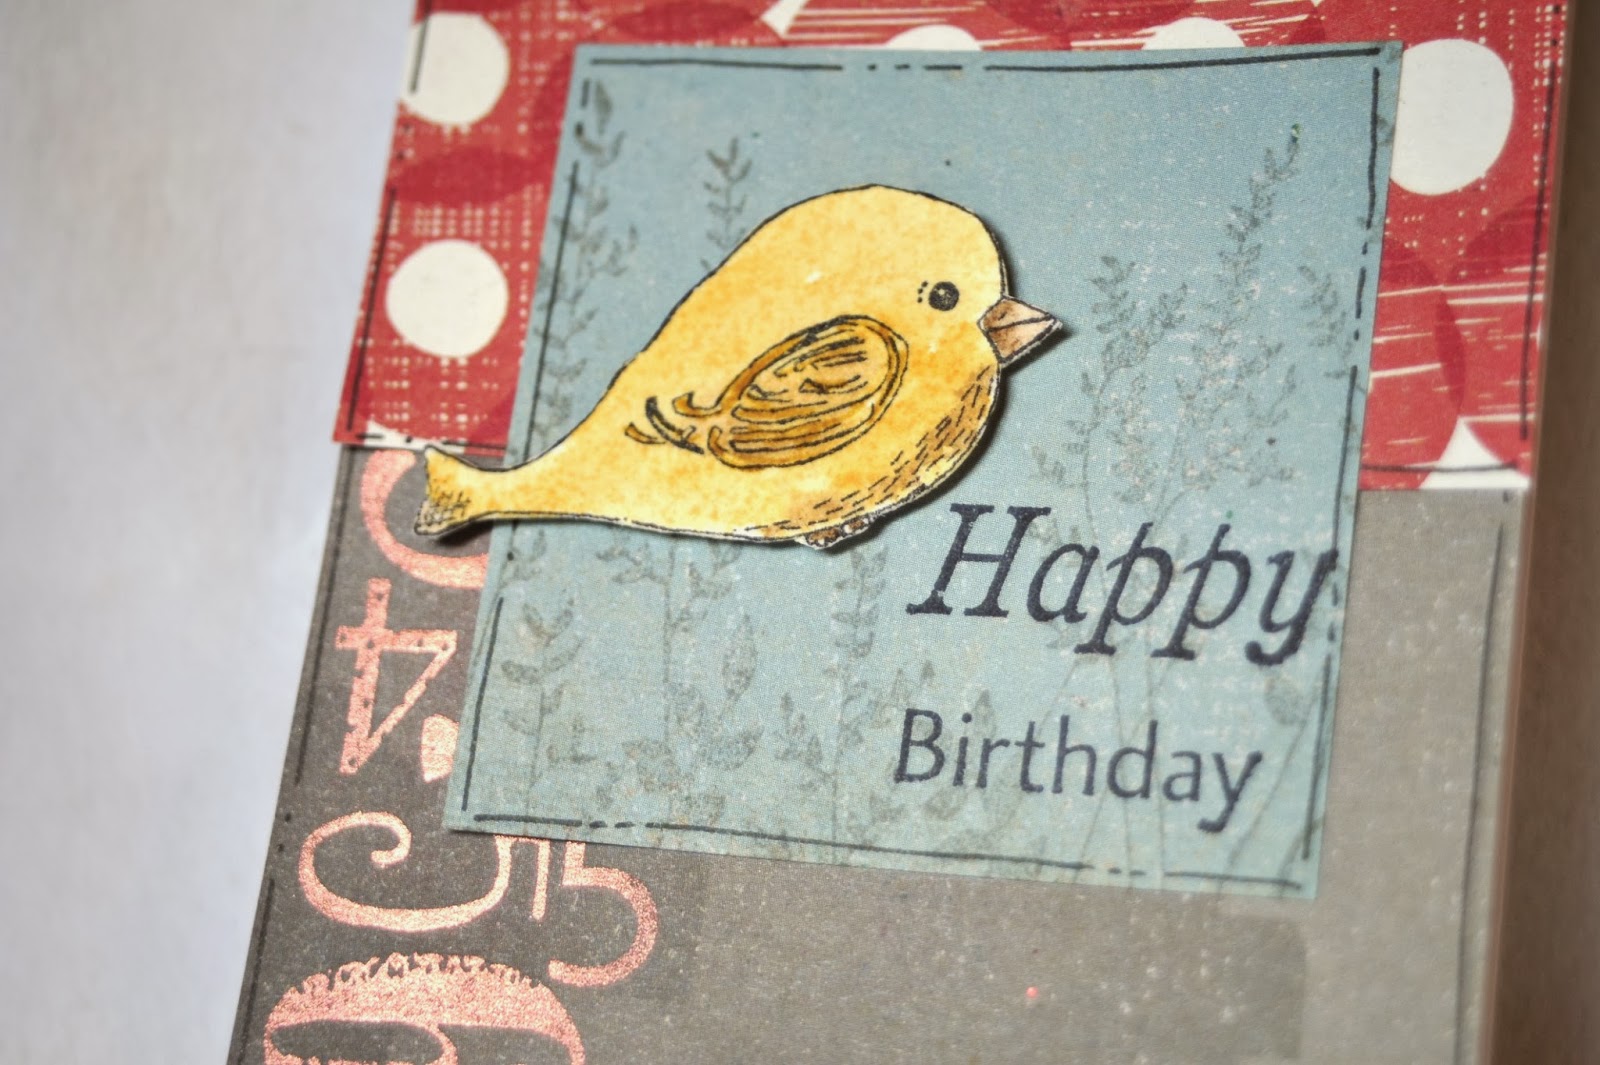
 The image was stamped with Archival ink onto watercolor paper, than colored with Distress Markers. That is my current favorite way of coloring stamped images. :)

Some ribbon and a scattering of Prima flowers finish it off. I will often do some sort of stamping on the edges of the background papers, but the tone-on-tone swirls were all it needed. I love the elegance of the paper! 

Moral: Give yourself a chance to try things outside your comfort zone.  Yes, I  DO like this stack! I'm excited to use more of the pages in future projects! 

Enjoy!


Supplies Used
Paper: DCWV-Dark Romance, watercolor paper
Ink: Archival ink, Distress Markers
Stamps: Sarah Kay "Rose's Garden"
Dies: Spellbinders "Labels 18"
Other: Prima flowers, ribbon, nail heads

Tuesday, October 22, 2013

Clear Gesso and Stencils


Hello my fabulous friends!

I'm here to share a card I made using DCWV Pumpkin Patch stack.
This stack is a really fun fall stack! I love the rich colors and the great designs!

Sometimes, even when I like a particular patterned paper, I want to step it up a notch.. Here's one fun way to do just that...

Tape a stencil down over your patterned paper. 

Sponge on some clear gesso. I like using my ink blending tool and a foam blending pad to do this, then I just wash out the pad with soap and water and let it dry, then I can reuse the pad. However, you can use a makeup wedge instead if you want.

Once it's dry, apply ink over the paper. 

Use a damp rag to wipe off the ink from the gesso. The gesso acts as a resist and will protect the pattern of the paper in the areas it covers. 

This is a fun way to alter your patterned paper for a little added interest!  

REMEMBER, you still have a few more days to get your cards in! The last drawing will be held this Friday October 25th! All the details are HERE!

Enjoy!

Supplies Used:
Paper: DCWV Pumpkin Patch, Bazzill
Ink: Distress Ink
Dies: Spellbinders "Hearts One"
Silhouette: Circle Overlap Lace 
Other: Clear Gesso

Friday, October 18, 2013

Miss You Flowers

Hello my wonderful friends!

Don't forget to work on some cards of your own this weekend! All the details on the Scrapbook USA Card Drive for Operation Write Home can be found HERE

The soft colors of DCWV "the Modern Meadow Stack" remind me of the transition of summer to fall... you have the yellows, browns, oranges, and blue. It is a beautiful combination to create with!
For this card I simply chose two of the patterns and layered them with with a mat of solid card stock underneath each help them pop.

On some white card stock, I stamp the flowers, then colored them in with Iced Spruce Distress Marker. For a little extra shimmer on the flowers, and to compliment the glitter of the zigzag paper, I added some clear "Fairy Dust" Creative Inspiration Paint. Once dry, the shimmer won't rub off, so no worries there!


Enjoy!


Supplies Used:
Paper: DCWV-Modern Meadow, Core'Dinations, Bazzill, card stock
Ink: Memento, Distress Marker
Stamps: Unity "Wishing You Joy" & "Blossom Stackers"
Dies: Quickutz "Nesting Circles", Spellbinders "Blossom Tags and Accents"
Creative Inspirations Paint: Fairy Dust
Other: pearls

Wednesday, October 16, 2013

Fall Memories


 Hello my wonderful friends!

When I was growing up, my grandparents had the BEST apple tree. It had the perfect branches for climbing and sitting in (even if you were really small). And it had been grafted with several different kinds of apple all into one tree. Each year int the autumn we would go over to their house and pick boxes and boxes of apples off this huge tree. 

Once the apples were picked, the tree had one more gift for us... the leaves. We would rake those leaves into giant piles and jump in them! Chores were never so much fun!

DCWV "Spiced Cider" paper pack is full of beautiful fall papers... including apples. 


(I know, my card doesn't show apples, but the apple are are more sized for a scrapbook page... I need to go find a picture of me and my sister in the leaves of the apple tree. I know I have a cute one somewhere... )

However, I do love these papers! The flowers were stamped with acrylic paint... I thought the texture you get from stamping with paint look good with the wood patterned paper I chose as the accent.

Bring on Autumn!

Enjoy!


Supplies Used
Paper: DCWV-Spiced Cider, Core'dinations
Stamps: Inkadinkado "Meadow", Kaisercraft "Devonshire"
Dies: Quickutz "Nesting Ovals"
Other: Distress Paint, acrylic paint, bras

Tuesday, October 15, 2013

"Love U" Card

Hello and good morning..

It's Wendi here, sharing a recent card that I made with you with some DCWV. As many of you know, Oct 5 was World Card Making Day and to go along with that The Original Scrapbook USA Expo is having a donation drive for Operation Write Home. Help us reach our goal of 500 cards! All the details are in this post, 500 Cards.

I created a card with the LOVE theme that could be used towards anyone- a loved one, a friend, or just because I want to say I love it.

I used the DCWV Modern Meadow papers and mixed them all together. One of the sheets actually already had sentiments printed on it, so it was perfect and that's where I pulled the "You are My Heart" tab.
I also fussy cut the tabs from the top and the shaped center piece.

The center yellow piece of paper is actually from the DCWV Natural Fibers papers and has the coolest texture.
I topped it off with some washi tape and a sentiment with some mini alphas from my stash. Quick and easy.

Hope you have a great day and thanks for stopping by.

Monday, October 14, 2013

How About Some Texture??

A little texture
Hello my fabulous friends!

I'm here to share a very dangerous line of paper from DCWV...

the Gauze Paper.

It is AMAZING!!! 

It is like no other paper I have ever worked with. It has actual gauze adhered to the paper for a textured paper that is SO much fun!

I call it dangerous only because it is so fantastic, you are going to want to get a ton of it!

Here is a quick card I put together. The paper die cuts fabulously... although you may need to snip a few stray fibers..

I stamped over the gauze using acrylic paint, and a fair amount of pressure. I love the texture!

This is one of those paper lines that I am super excited about, and hope to see more colors of!

Enjoy!

Supplies Used:
Paper: DCWV Gauze Paper, card stock
Ink: Archival
Stamps: Unity "Love in Return", Fancy Pants "In My Words"
Dies: Sizzix 2" Hexagons
Other: Prima flowers, brad, acrylic paint

Tuesday, October 8, 2013

Cards with DCWV Pebbled Stack

Hello! Ange here, with a super simple and totally awesome card using the Pebbled 6x6 stack from DCWV. As many of you know, Oct 5 was World Card Making Day and to go along with that The Original Scrapbook USA Expo is having a donation drive for Operation Write Home. Help us reach our goal of 500 cards! All the details are in this post, 500 Cards
 There were plenty of challenges available over the weekend, to get everyone making some cards. So I found a nice sketch fromPagemaps and created this card using it:


I loved the layers and the simplicity of the sketch because I knew I wanted to use more than one sheet from the Pebbled stack but I wanted the card to feel masculine at the same time. I started with just white cs as my base, then added the sheet of grey after using my emery board on it to really help the awesome pebbled pattern show. Then I grabbed a pp from the Sky's the Limit stack for a bit of color and pattern behind the dark yellow paper from the Pebbled stack. I added a couple strips of washi for a banner and some rub-ons for my sentiment.
Easy, quick and elegant.
Thanks for stopping by!

Supplies:
DCWV - Pebbled and Sky's the Limit stacks
pagemaps - sketch
bazzil basics - washi
colorbox - black ink
creating keepsakes - rub-ons
stash - white cs, emery board

Tuesday, September 24, 2013

Quick and Easy "Happy Birthday" Card


Just like dinnertime, sometimes when you're crafting you need a recipe that is deceptively quick and easy.  Using the lovely Summer Garden stack from DCWV, I made this birthday card for my Grandma in just a few minutes, and I was so happy with how it turned out!  To create the card base, I just took one of the pages from the stack that had a plain burlap-type print on the back, and folded it to create a card.  The decorative edge of the page made such a pretty edge to the card.  Then I just punched a whole bunch of butterflies and flowers from the different brightly colored pages of the stack and arranged and adhered them in a circle.  I wrote the sentiment myself, but you could also use a stamp if you're not a big fan of your handwriting.  As a last step, I used liquid pearls to accent the butterfly bodies.  I was in such a hurry with this card that I had to let it sit on the dashboard of my car on the way over to my grandma's house so the pearls would dry in the sun, but we made it!