Next Show: April 20th & 21st, 2018


Home i Event Info i Tickets i Classes i Vendors i FAQ's

Showing posts with label Kassi. Show all posts

Monday, March 31, 2014

Now & Then with MME - Pop Up Flower Birthday Card

Hello my fabulous friends!

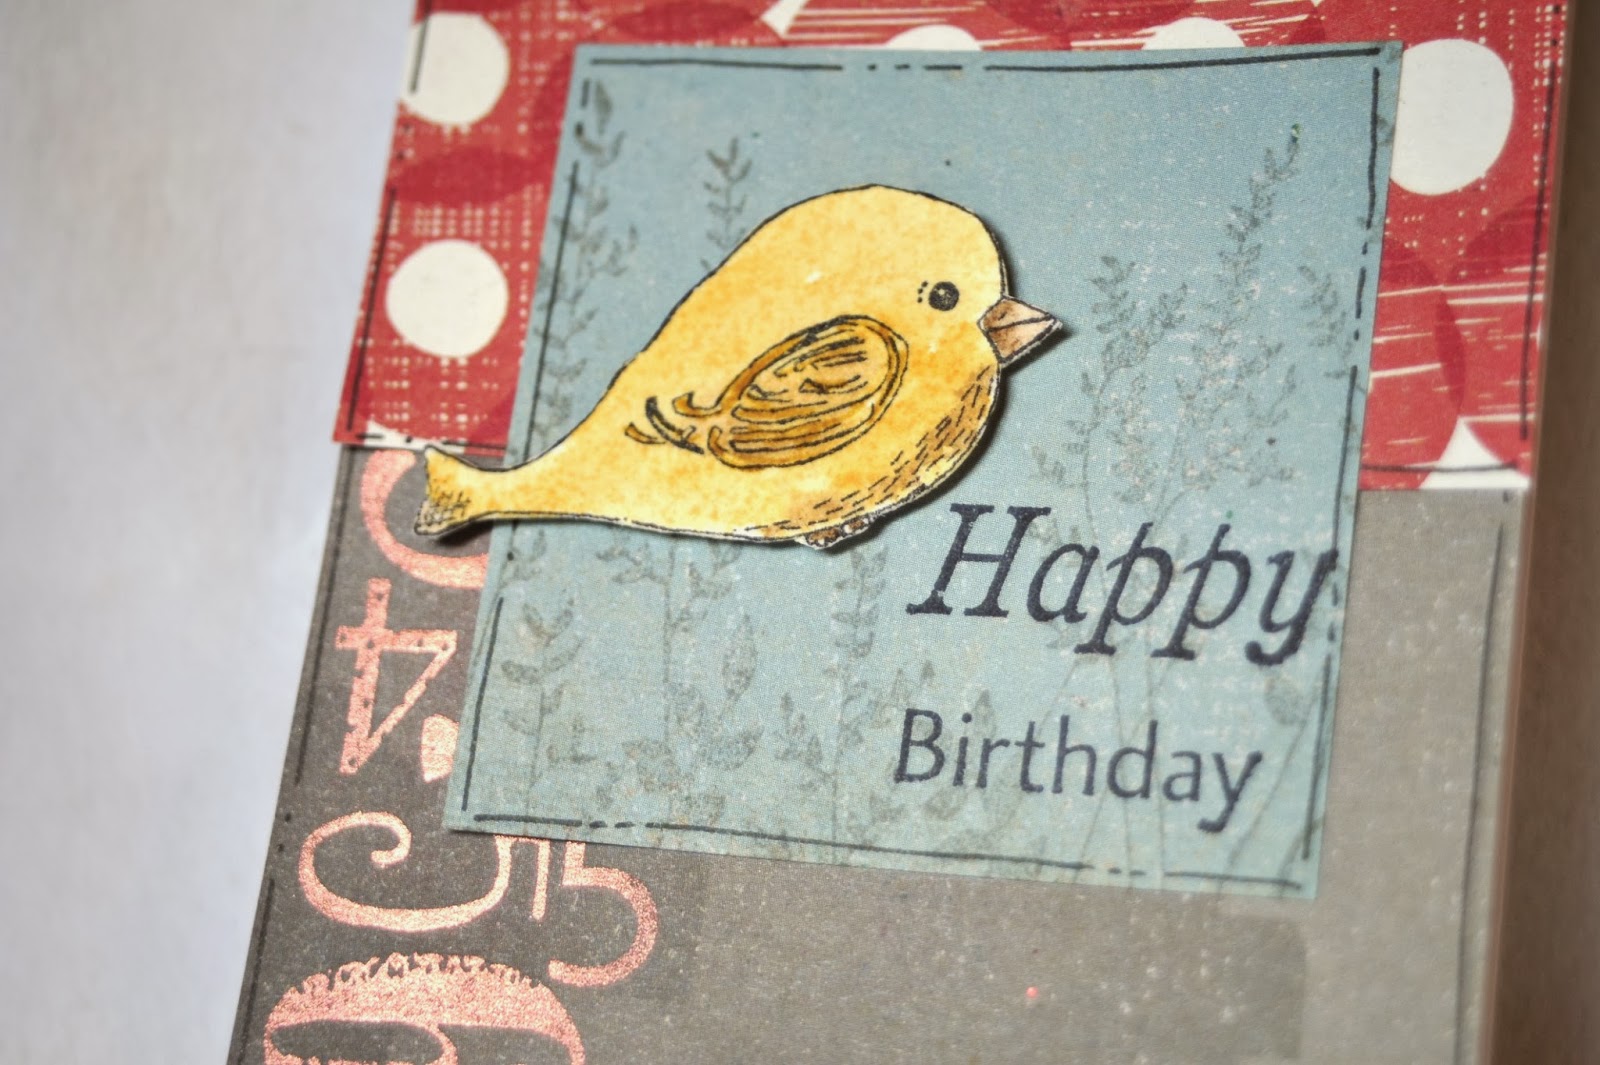
How would you like to get this for a birthday card?  
Awesome, huh!  

It is a combination of  2 cut files found on the Silhouette store (or Lori Whitlock's site for SVG)
a2 Box Card Flower Pot & a2 Box Card Baby
You can mix and match the box cards and their insides.. so much fun! 

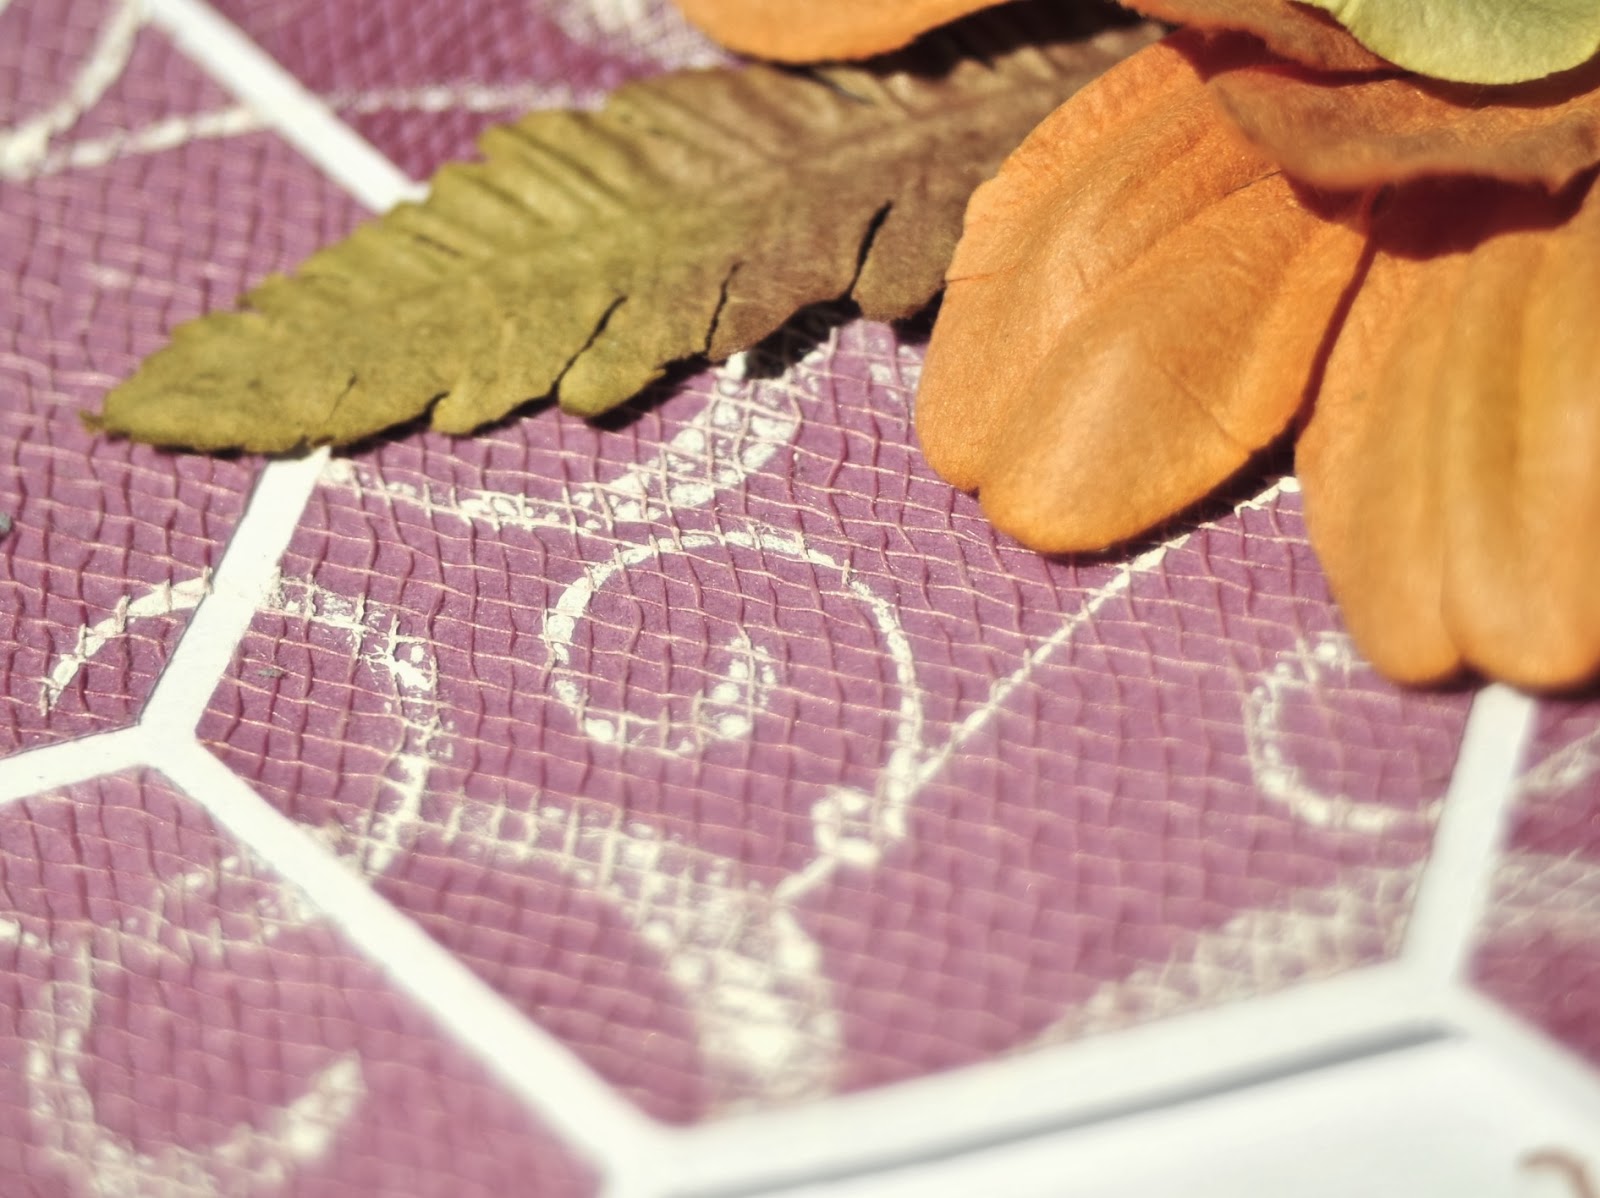
And the adorable patterned paper?? That is My Mind's Eye- "Now & Then" collection. It is a fabulous line!  

(I picked up some fabulous MME stuff at the show last weekend!)

I wanted my flowers to match, not only in color, but also in style, so I added a bunch of Imaginisce Hot Rocks to the centers.

And the super duper cool thing? It folds up to fit in an envelop. Yeah. I thought that was pretty much brilliant!

Enjoy!


Supplies Used:
Ink: Distress Ink
Stamps: Inspired By Stamping "Butterfly Wings"
Silhouette: Lori Whitlock's "a2 Box Card Flower Pot", "a2 Box Card Baby"
Other: Imaginisce Hot Rocks

Thursday, February 20, 2014

Mon Ami By Basic Grey

Hello my fabulous friends!

Are you all getting excited for the Scrapbook USA Expo???  
I know I am! =)

So many fabulous vendors (including Spellbinders!!! YAY!!!) 

One of the vendors I always look forward to is Basic Grey. I love their stuff & their deals!

This was made using Basic Grey's "Mon Ami" line.
Fabulous colors & patterns in this line!

The numbers on the side were stamped with a clear embossing ink, then covered with Magical Powder from Lindy's Stamp Gang... The mica shimmers so beautifully and gives it that touch of metallic shine without being overly distracting. 

Working with scraps, I was able to quickly make a second card using the same line of papers...
The yellow paper on this card is actually a scrap from the first card... (it is the reverse side of the grey... I love double sided papers!!!)


Enjoy!


Supplies Used (1):
Paper: Basic Grey "Mon Ami", watercolor paper
Ink: VersaMark, Archival Ink
Stamps: Unity "Number etc.", "Sing Your Song", "Create Today", & "Heartfelt Sentiments"
Other: Lindy Stamp Gang Magicals "Cattail Copper Brown"

Supplies Used (2):
Paper: Basic Grey "Mon Ami", card stock
Ink: Archival, Distress Ink
Stamps: Unity "Every Breath"
Dies: Spellbinders "Blossom Tags & Accents", Quickutz "Nesting Circles"
Other: Rhinestones, Perfect Pearls


Wednesday, February 12, 2014

Dress It Up - MME "Lost & found"

Hello my fabulous friends!

Are you ready for Valentines Day?
Well, My Mind's Eye has a beautiful line entitled "Lost & Found" that is perfect for your Valentines projects.... Although, in all honesty, who needs to wait for any specific day to tell someone you care?

I love the dress form trend. Something about them is so inspiring... They are like a canvas waiting to be decorated. 

Last year, at the Scrapbook USA Expo, I picked up a fun flower die by Joy! Crafts called "Fantasy Flowers #2". All those tiny little blooms making up the skirt were cut using that die... I love the added dimension it gives!

A fun way to get more out of patterned papers is to brush on a layer of Gesso to cover parts of the pattern. This allows you to stamp an image onto a busy patterned paper without losing the image. To keep with the vintage feel of the papers, I lightly tinted the Gesso with some powdered pigments.


Enjoy!

Supplies Used:
Paper: My Minds Eye "Lost and Found", card stock
Ink: Distress Ink, Archival Ink
Stamps: TPC Studio "Vintage Threads", KI Memories "Celebrate Life"
Dies: Joy! Crafts "Fantasy Flower #2"
Other: Perfect Pearls, Magicals (Bit O'Bubbbly), Moon Shadow (Smokey Sapphire), rhinestones, jute, lace

Monday, February 10, 2014

Hearts! MME "Lost & Found"

Hello my fabulous friends!

Confession... I'm SO behind!

I really should have about 4 birthday cards done, as well as Valentines cards... 
YAY for super cute paper from My Mind's Eye that made whipping up a quick CAS card easy!

These are from the "Lost & Found" collection... which I ADORE! Absolutely beautiful color and style!

To make a fun dimensional heart, simply cut multiple hearts out of paper, then attach them to your project by sewing a single line down the center. You can then fan out the layers. I love the simplicity of this technique! It's a super fast and easy way to add a little extra pop. 

Enjoy!

Supplies Used: 
Paper: My Mind's Eye "Lost and Found"
Ink: Distress ink
Stamps: My Mind's Eye "Story"
Dies: Spellbinders "Hearts One"
Other: Imaginisce Hot Rocks


Friday, December 13, 2013

Christmas Mini Album with Basic Grey

Hello my wonderful friends!

In anticipation of the upcoming craziness of Christmas time, I thought it would be nice to be ready ahead of time with a mini album all ready to go, and the "25th and Pine" line of papers and embellishments from Basic Grey is beautifully PERFECT for this!
This line is fabulous! The colors are traditional yet they are not the bright greens and reds... they are softer, more muted. 


I chose an album style that has pockets... I love the idea of having places to tuck photos and little treasures. 

For the moment, it is pretty plain... I wanted to keep it simple until I have the photos, stories, and memorabilia to fill it up... This is where the matching embellishment packs  really come in handy! They make snazzing it up quick and easy when the time comes!

Being ahead of the game should mean that I get the scrapbooking done, right? LOL!
 Guess we'll see. :)

Enjoy!


Supplies Used:
Paper: Basic Grey "25th & Pine", card stock
Ink: Distress, Color Shine
Silhouette: Library Pocket Mini Album
Other: Basic Grey "25th & Pine" embellishment packs

Wednesday, December 11, 2013

Super Cute Stocking Stuffers!

Hello my fabulous friends!

Ready for SUPER CUTE gift/stocking stuffer?  

How stinkin' cute are THESE???
Little decorated packs of TicTacs would make anyone's day, right?!?

The best part... If you have a Silhouette, they literally come together in minutes! If you don't, it would take a little longer, but STILL! 

What I LOVE about these particular ones is the PAPER! It is from DCWV "Holiday Glitzy Glitter" stack. In all honesty, I usually don't like glitter paper. But this "glitzy glitter" is a finer glitter, and has a more shimmery look... I am SO in love with it! It is GLAMOROUS  and ELEGANT. So pretty!


Enjoy!

Supplies Used:
Paper: DCWV Holiday Glitzy Glitter, Core'Dinations
Ink: MarkIt
Silhouette: "Christmas Tree TicTac Wrap" & "Snowman TicTac Wrap"
Other: flocking, jute

Friday, December 6, 2013

DIY Magnets with DCWV

Hello my wonderful friends!

Are you looking for a fun little gift idea, or stocking stuffer? How about a set of custom bottle cap magnets?

These ones are made with DCWV "Christmas Made" stack. (which is a beautiful stack!) The pillow box gift box and tag are also made from that stack. A completely matching set. LOVE!
These magnets are SUPER simple to make! I bought a whole bunch of flattened bottle caps online, so I didn't have to worry smashing my own. I then used a die to cut circles the right size. This line of paper has a couple different designs with images that fit PERFECTLY in the bottle caps! 

A little Glossy Accents will glue the paper to the inside of the bottle cap. Once that is dry (which doesn't take long, fill the cap full of Glossy Accents. Set them aside to dry. This will take several hours, so you may just want to set them aside over night. Once dry, attach a magnet to the back with Glossy Accents.

Enjoy!

Supplies Used:
Paper: DCWV Christmas Made
Ink: Distress
Silhouette: Bracket Pillow Box
Dies: Quickuz "Nesting Circles"
Others: Glossy Accents, magnets, bottle caps, ribbon

Monday, November 25, 2013

Thank You, Echo Park

Hello my wonderful friend!

Sometimes you just need a quick card, right? (but it you don't want it to LOOK like you threw it together!)  Well, it doesn't get too much better than this... thank you Echo Park! 

Both the turquoise chevrons and the owl papers are journaling cards from Echo Park's "Oh So Thankful" Photo Freedom kit. I trimmed the owl card down about a half inch more than the chevrons so there would be a border, then I ran a distressing tool over the edges. The "thank you" was spelled out using the letter stickers also found in the kit. A little ink around the edges and a jute bow, and it is ready to go! WHEW! 

Now back to your busy life.

Enjoy!

Products Used:
Paper: Echo Park "Oh So Thankful" photo freedom kit
Ink: Distress
Other: Jute


Thursday, November 21, 2013

Photo Freedom by Echo Park

Hello my wonderful friends! 

Raise your hand if you are behind in your scrapbooking.

Yeah... me too. 

(you can all put your hands down now.)

Echo Park has a fun and super easy way getting a hold on those photos. It's called Photo Freedom, and you can check it out HERE. Their focus is really about keeping it simple and getting the photos and stories recorded. However, that doesn't mean it has to be style has to be sacrificed! Their papers and embellishments are adorable!

I was sent one of their "Oh So Thankful" kits to work with...

My page came together so quickly! I was amazed! 

Tucked behind the photo is a hidden journalling tag. The kit comes with some super cute double sided journalling cards, all I had to do was add a tab on the edge so it is easy to pull out.

I made a few border strips as well as a the quote tag with some stamps from my stash. I love being able to mix in stuff I already have with current kits on the market!

Here's a quick tip for you...

When using stickers to make titles, I like to use a section of the sticker backing paper to figure out the spacing. By putting a ruler underneath, you can get your letters straight and evenly spaced (you can often see through the backing papers enough to see the ruler lines). Be sure to leave the stickers hanging off the edge of the paper for easy transfer...

To move them to your project, simply place them where you want them, firmly rub the stickers on your project where they are hanging off the backing, slide the backing sheet out and rub on the other half. Easy titles! LOVE!

Enjoy!

Supplies Used:
Paper: Echo Park "Oh So Thankful" photo freedom kit
Ink: Memento, Archival, Distress
Stamps: Unity "Tribal Trend", "Jumprope", "Strength and Dignity"
Dies: Spellbinders "Labels 18"
Other: tissue paper, glitter, pearls

Friday, November 1, 2013

Outside the Comfort Zone


Hello my fabulous friends!

 When I first looked at the DCWV Dark Romance stack, I was really.... well, unsure what to do with it. 

Some of the designs I completely loved right away.... Like some of the butterflies. Nice neutral tones. A design I was comfortable working with... But one thing I have learned, is that challenging myself is the best way to not only grow, but discover amazing things!

For example... This purple paper on my card...
In a 12x12, it is a very intense purple with large floral tone-on-tone designs that I like, but the color intensity was so overwhelming, and not one I typically use.. However, the more I looked at it, the more I liked it... the more I liked it, the more I knew I wanted to use it! So I ditched the project I was doing that was in my comfort zone (working with the brown butterfly paper) and used the purple paper that I had originally found intimidating. 

 The image was stamped with Archival ink onto watercolor paper, than colored with Distress Markers. That is my current favorite way of coloring stamped images. :)

Some ribbon and a scattering of Prima flowers finish it off. I will often do some sort of stamping on the edges of the background papers, but the tone-on-tone swirls were all it needed. I love the elegance of the paper! 

Moral: Give yourself a chance to try things outside your comfort zone.  Yes, I  DO like this stack! I'm excited to use more of the pages in future projects! 

Enjoy!


Supplies Used
Paper: DCWV-Dark Romance, watercolor paper
Ink: Archival ink, Distress Markers
Stamps: Sarah Kay "Rose's Garden"
Dies: Spellbinders "Labels 18"
Other: Prima flowers, ribbon, nail heads

Thursday, October 24, 2013

A Rhinestone Border

Dear Jane,
I love you.

The Dear Jane stack from DCWV is BEAUTIFUL! The soft colors with the gold foil is lovely, and it was perfect for this sweet picture of my niece... 


While I was at the ScrapbookUSA Expo last spring, someone was looking at Imaginisce's  i-rock and they asked me why anyone would want to spend money on "yet another tool" along with special rhinestones when we can just use glue. 

Obviously this wasn't one of those crafters that just "have" to have all the latest and greatest.... 

Well, heat set rhinestones really do have their place. First... They can be used on fabric. Awesome!

Next, making your own designs is a breeze!
 L.O.V.E!

For my LO, I used my Silhouette to make a rhinestone templet out of paper, then filled it with hot fix rhinestones. I know it sounds tedious, but it isn't. They slip into place fairly easily.

Use the i-rock to gently press down on each jewel for a few seconds. This allows the glue to melt. Simple.

Once you have done that, carefully lift up your template. If any of the rhinestones haven't set, or are stuck to the temple, simply lay the template back down and heat it again. 


Imagine glueing each of those babies by hand... 

(ok, so I have done projects where I have glued rhinestones by hand... trust me--- this is faster and easier!)

Enjoy!
~Kassi

Supplies Used:
Paper: DCWV Dear Jane Stack & Card Stock
Ink: Distress Ink, StazOn
Stamps: Basic Grey "Swirlie", Fancy Pants "Pollen Dust", Teresa Collins "Linen"
Flowers: Prima
Silhouette: Ogee Shapes, Echo Park Doily, Artisan Label
Other: Imaginisce Hot Rocks, Perfect Pearls, Resinesense, rhinestones, acrylic paint, gesso, buttons

Tuesday, October 22, 2013

Clear Gesso and Stencils


Hello my fabulous friends!

I'm here to share a card I made using DCWV Pumpkin Patch stack.
This stack is a really fun fall stack! I love the rich colors and the great designs!

Sometimes, even when I like a particular patterned paper, I want to step it up a notch.. Here's one fun way to do just that...

Tape a stencil down over your patterned paper. 

Sponge on some clear gesso. I like using my ink blending tool and a foam blending pad to do this, then I just wash out the pad with soap and water and let it dry, then I can reuse the pad. However, you can use a makeup wedge instead if you want.

Once it's dry, apply ink over the paper. 

Use a damp rag to wipe off the ink from the gesso. The gesso acts as a resist and will protect the pattern of the paper in the areas it covers. 

This is a fun way to alter your patterned paper for a little added interest!  

REMEMBER, you still have a few more days to get your cards in! The last drawing will be held this Friday October 25th! All the details are HERE!

Enjoy!

Supplies Used:
Paper: DCWV Pumpkin Patch, Bazzill
Ink: Distress Ink
Dies: Spellbinders "Hearts One"
Silhouette: Circle Overlap Lace 
Other: Clear Gesso

Friday, October 18, 2013

Miss You Flowers

Hello my wonderful friends!

Don't forget to work on some cards of your own this weekend! All the details on the Scrapbook USA Card Drive for Operation Write Home can be found HERE

The soft colors of DCWV "the Modern Meadow Stack" remind me of the transition of summer to fall... you have the yellows, browns, oranges, and blue. It is a beautiful combination to create with!
For this card I simply chose two of the patterns and layered them with with a mat of solid card stock underneath each help them pop.

On some white card stock, I stamp the flowers, then colored them in with Iced Spruce Distress Marker. For a little extra shimmer on the flowers, and to compliment the glitter of the zigzag paper, I added some clear "Fairy Dust" Creative Inspiration Paint. Once dry, the shimmer won't rub off, so no worries there!


Enjoy!


Supplies Used:
Paper: DCWV-Modern Meadow, Core'Dinations, Bazzill, card stock
Ink: Memento, Distress Marker
Stamps: Unity "Wishing You Joy" & "Blossom Stackers"
Dies: Quickutz "Nesting Circles", Spellbinders "Blossom Tags and Accents"
Creative Inspirations Paint: Fairy Dust
Other: pearls

Wednesday, October 16, 2013

Fall Memories


 Hello my wonderful friends!

When I was growing up, my grandparents had the BEST apple tree. It had the perfect branches for climbing and sitting in (even if you were really small). And it had been grafted with several different kinds of apple all into one tree. Each year int the autumn we would go over to their house and pick boxes and boxes of apples off this huge tree. 

Once the apples were picked, the tree had one more gift for us... the leaves. We would rake those leaves into giant piles and jump in them! Chores were never so much fun!

DCWV "Spiced Cider" paper pack is full of beautiful fall papers... including apples. 


(I know, my card doesn't show apples, but the apple are are more sized for a scrapbook page... I need to go find a picture of me and my sister in the leaves of the apple tree. I know I have a cute one somewhere... )

However, I do love these papers! The flowers were stamped with acrylic paint... I thought the texture you get from stamping with paint look good with the wood patterned paper I chose as the accent.

Bring on Autumn!

Enjoy!


Supplies Used
Paper: DCWV-Spiced Cider, Core'dinations
Stamps: Inkadinkado "Meadow", Kaisercraft "Devonshire"
Dies: Quickutz "Nesting Ovals"
Other: Distress Paint, acrylic paint, bras

Monday, October 14, 2013

How About Some Texture??

A little texture
Hello my fabulous friends!

I'm here to share a very dangerous line of paper from DCWV...

the Gauze Paper.

It is AMAZING!!! 

It is like no other paper I have ever worked with. It has actual gauze adhered to the paper for a textured paper that is SO much fun!

I call it dangerous only because it is so fantastic, you are going to want to get a ton of it!

Here is a quick card I put together. The paper die cuts fabulously... although you may need to snip a few stray fibers..

I stamped over the gauze using acrylic paint, and a fair amount of pressure. I love the texture!

This is one of those paper lines that I am super excited about, and hope to see more colors of!

Enjoy!

Supplies Used:
Paper: DCWV Gauze Paper, card stock
Ink: Archival
Stamps: Unity "Love in Return", Fancy Pants "In My Words"
Dies: Sizzix 2" Hexagons
Other: Prima flowers, brad, acrylic paint

Tuesday, September 10, 2013

Birthday star…. (DCWV "Birthday Wishes Stack)

Hello my friends! 

Are you ready to celebrate?

This time of year, my family has a TON of birthdays.

And, as I am sure you all understand all too well, were there is a ton of birthdays, there is also a need for a TON of birthday cards!  

DCWV has the funnest birthday stack called "Birthday Wishes" that is full of bright colors, sparkle, and pure kid joy!

The card stock was so fun, that I hardly had to do anything!

I decide I wanted to try my hand at a spinner card, so I chose a label on my Silhouette Studio, and made a rounded rectangular slot. I then sandwiched a foam pop dot circle between 2 pennies and placed it in the track.

I cut out a star out of card stock, then the swirls out of double-sided adhesive. I then sprinkled glitter over it. I glued it over the penny.... When you tip the card gently to the side, the star spins across the card! 

 It makes me smile- of course, I'm easily entertained. LOL!

I think my niece will enjoy it though!

Enjoy!


Supplies Used:
Paper: DCWV "Birthday Wishes Stack", card stock
Ink: StazOn
Silhouette: Artisan Label Set, 3 Patterned Stars
Other: Glitter, foam dot, pennies

Friday, September 6, 2013

A girl should be…. (Fancy Pants "Trend Setter")

Hello my fabulously creative friends!

Have you seen Fancy Pants' Trend Setter line?

I'm totally in LOVE with it! 

I love the patterns... there is a great mix of chevrons, stripes, stars, dots, maps.. and the colors are gorgeous!

I used some ribbon to lace together "Style Sheet" (top paper), leaving a nice gap between the two pieces to show the criss crosses as well as the "Fashion" (pink map paper) that is behind the ribbon.  A nice little embellishment cluster under the bow and a sentiment sticker finish it off... It has a lot of texture and detail, yet it was actually really quick and easy to put together.


I love the coordinating embellies for the line... it makes things SO easy! 

The chipboard flower is from the Button set. I pulled off the foam pop dot so I could thread the ribbon through the button hole to secure it to my card. The stars come from the Sticker Fundamentals sheet. And last, but definitely not least, the quote is from the Label Stickers.

 I think the quote "a girl should be two things: classy and FABULOUS.  coco chanel" is absolutely awesome!  The perfect pick-me-up.

Enjoy!


Supplies Used:
Paper: Fancy Pants "Trend Setter", card stock
Ink: Distress ink
Embellishments: Fancy Pants "Trend Setter Label Stickers", "Trend Setter Sticker Fundamentals", "Trend Setter Button Set"
Other: ribbon, eyelets


Thursday, September 5, 2013

Sweet Little Treats - DCWV Summer Garden Stack

Summertime isn't quite over, still a few more reasons to celebrate!

And of course with celebrations, you need favors!


These SWEET little boxes were made using DCWV Summer Garden Stack! The bright designs are perfect for any summer celebration!

I found a free template for the box HERE

A little tweaking in Silhouette Designer Studio (ok, quite a bit of time there since I just got my Silhouette, and I am still trying to figure out my way around the program LOL!), a few folds, some glue and ribbon.... DONE!  

They were super fast to make and are super adorable! They will make great favors & decor! I can't wait for the party to get started!

Enjoy!
~Kassi

Supplies Used:
Paper: DCWV Summer Garden Stack
Ink: Colorbox, Mark-it
Stamps: Close to my Heart "Pair-a-Phrase"
Dies: SVGStore "Mini Goodie Box", Spellbinders "Labels 18"
Other: Imaginisce irocks, ribbon

Monday, May 20, 2013

Summer Garden Card

Blue skies and bright flowers… (DCWV Summer Garden 6x12 stack, Imaginisce hot rocks)
Hello my fabulous friends!

Who's ready for some blue skies and bright flowers?  I know I am!

So...

I'm totally LOVING the bright, happy colors and bold designs of DCWV Summer Garden Stack! And the 6x12 size is great for cards, die cutting, and borders on scrapbook pages! (and it is double sided! BONUS!)

These fabulous little gems are hot rocks from imaginisce.  They are hot fix, so when you heat them with the i.rock heat tool, the glue melts, and permanently sticks them to paper OR fabric!  How fun, huh! 

*note to self... must find some clothes or furniture to gem-ify!  Maybe my niece will let me sparkle up one (or more) of her shirts....*


A little floating magic going on here. I cut apart the top flap of the card and inserted a strip of clear plastic. This made a nice little window.  "Thanks" is actually stamped inside the card. This is just a fun way to change things up a bit. The thin strips of contrasting paper not only act as a fun edging, they also hide the glue lines. 


This fun flower was made using Spellbinder's "Rose Creations" die. I die cut layers of fabric, netting, and DCWV Summer Garden paper and did a bunch of stacking for a flower 'blooming' with texture.  I love that the paper is double sided, so when it folds over, a coordinating design shows. Fabulous!

Enjoy!

Supplies Used:
Paper: DCWV Supper Garden 6x12 stack, white card stock
Ink: Distress ink, VersaMark
Stamp: My Mind's Eye "Tickled Pink"
Die: Spellbinders "Rose Creation"
Other: fabric, brad, Imaginisce hot rocks, clear plastic 


Tuesday, May 14, 2013

CUTE Card with DCWV Kidlet Stack Scraps

Using your scraps (DCWV Kidlet stack)
Hello my wonderful friends!

Have you ever had scraps of paper too small to do much with, but you love them too much to get rid of them?   Well, try why not try this out?


Die cut some small simple shapes like circles and make a border down the edge of a card. It's one of those sweet and simple cards that puts those favorite scraps to the best possible use!

So what are my scraps from???

Would you believe they are from the DCWV Kidlet stack?

Yeah! 

 I love how even though it is a "kid" stack, some of these papers totally work for any age! So cute!

Enjoy!

Supplies Used:
Paper: DCWV Kidlet Stack, cardstock
Ink: Distress Ink, Colorbox, All Purpose
Stamp: My Mind's Eye "Favorite"
Die: Quickutz "Nesting Circles"
Other: button, string